
how to make thepla recipe methi easy is mostly about two things, getting moisture right and cooking the flatbread at a steady heat so it stays soft but still has those brown, toasty spots.
If you’ve never made thepla before, think of it as a Gujarati spiced flatbread that’s more forgiving than it looks, and way more practical than a “special occasion” bread. It travels well, reheats well, and works for breakfast, lunchbox, or an easy dinner side.

A common misunderstanding is treating thepla like plain roti, it’s not just flour and water. The spices, yogurt, and methi change how the dough behaves, so a few small choices make a big difference. This guide keeps it simple, but still gives you the “why” behind each step so you can adjust with confidence.
What makes methi thepla “easy” (and what usually goes wrong)
Thepla gets called easy because it doesn’t need yeast, proofing, or fancy gear, but most first-time issues come from texture.
- Too wet dough, often from washing methi and not drying it well, leads to sticky rolling and dense thepla.
- Too dry dough, usually from adding extra flour while rolling, makes it crack and turn stiff after cooling.
- Low heat cooking can dry it out before browning, while very high heat can burn spices fast.
- Overworking fresh fenugreek, if it’s chopped too fine and squeezed hard, can push bitterness forward.
Once you aim for a soft, slightly tacky dough and medium to medium-high heat, the rest becomes routine.
Ingredients and smart substitutions (US-friendly)
Most US kitchens can pull this off with one grocery trip, and a couple pantry swaps.
Core ingredients
- Whole wheat flour (atta if you have it, or whole wheat flour works)
- Fresh methi (fenugreek leaves) or frozen methi
- Plain yogurt (adds tenderness and a light tang)
- Oil (neutral oil, avocado, canola, or light olive oil)
- Spices: turmeric, cumin seeds (optional), red chili powder or cayenne, salt
Helpful add-ins (optional, not required)
- Gram flour (besan) for a slightly more tender, “snacky” bite
- Kasuri methi (dried fenugreek) if fresh methi is hard to find
- Ginger-garlic paste for extra depth
According to the USDA FoodData Central, plain yogurt contributes protein and minerals, but nutrition varies by brand, so check your label if you track macros.
Quick self-check: are you using fresh, frozen, or dried methi?
This is the quiet detail that changes water content fast.
- Fresh methi: rinse, then dry well, chop, and use. If leaves look very wet, pat with paper towels.
- Frozen methi: thaw, squeeze gently to remove excess water, then fluff it up before mixing.
- Dried methi (kasuri): crush between palms and hydrate with a spoon of yogurt or warm water, otherwise it stays dry and “dusty.”
If you’re chasing how to make thepla recipe methi easy on a weekday, frozen methi is often the least fussy once you learn the squeeze-and-fluff step.
Easy methi thepla recipe (step-by-step)
This version aims for soft, flavorful thepla without complicated measuring. If you like precision, use the table below.
Ingredient table (makes about 8–10 small thepla)
| Ingredient | Amount | Notes |
|---|---|---|
| Whole wheat flour | 2 cups | Atta preferred, US whole wheat works |
| Fresh methi (chopped) | 1 to 1.5 cups | Pack lightly, dry well |
| Plain yogurt | 1/3 cup | Helps softness and browning |
| Oil | 2 tbsp + more for cooking | Mix into dough and shallow-grease pan |
| Turmeric | 1/2 tsp | Color and warmth |
| Red chili powder/cayenne | 1/2 to 1 tsp | Adjust for your heat level |
| Salt | 3/4 tsp | Start here, adjust later |
| Cumin seeds (optional) | 1 tsp | Nice crunch and aroma |
| Water | as needed | Add slowly, methi adds moisture |
1) Make the dough
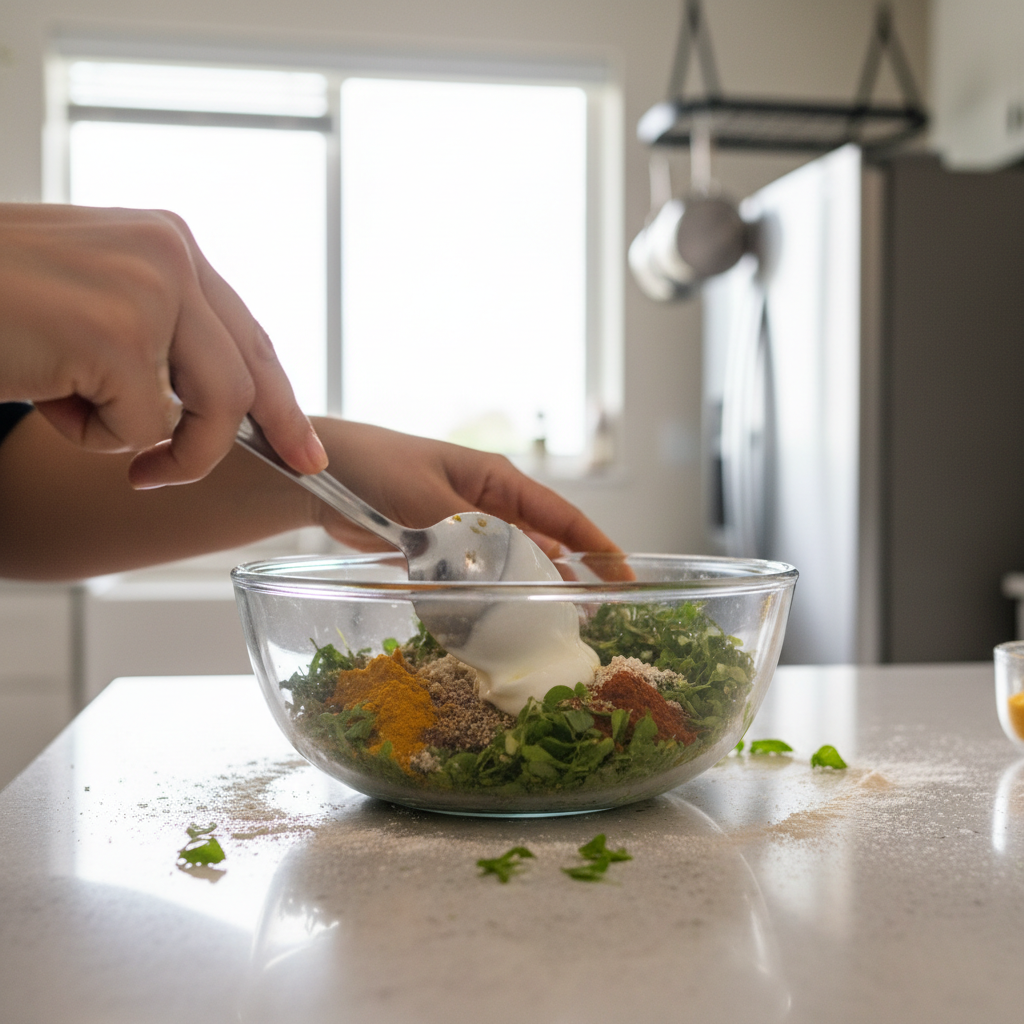
In a mixing bowl, combine flour, chopped methi, turmeric, chili, salt, and cumin seeds. Add yogurt and oil, then rub it in with fingers until the flour feels slightly crumbly.
Add water a little at a time, mixing until a soft dough forms. It should feel supple, not stiff, and just barely tacky. Cover and rest 15–20 minutes so the flour hydrates.
2) Divide and roll
Divide dough into 8–10 balls. Keep them covered so they don’t dry out. Lightly flour the surface, flatten one ball, then roll into a 6–7 inch circle.
- If edges crack, dip fingers in water and smooth, or add a teaspoon of yogurt to the dough and knead briefly.
- If it sticks, use less water next batch, but for now dust lightly, don’t bury it in flour.
3) Cook on the skillet
Heat a skillet or tawa over medium to medium-high. Place rolled thepla on the hot pan, cook until small bubbles appear and the underside shows light brown spots, then flip.
Brush a little oil on the cooked side, flip again, and press gently with a spatula to encourage even browning. Repeat on the second side. You’re aiming for browned spots, not a deep char.
4) Keep soft while you cook the rest
Stack cooked thepla in a clean towel-lined container. This traps a bit of steam, keeping them flexible. If you leave them open on a plate, they dry faster, especially in winter heating.
Key points that make the texture work
- Rest the dough, even 15 minutes makes rolling smoother.
- Go easy on dry flour while rolling, extra flour turns into toughness later.
- Use steady heat, too low dries them before they brown.
- Oil in the dough matters, it improves pliability and reheating.
If you’re still dialing it in, keep notes for one batch, water added, methi type, pan heat, and you’ll land on your “house version” quickly.
Practical serving ideas (what Americans often pair it with)
Thepla is versatile, and you don’t need a full Indian spread to make it feel complete.
- Quick breakfast: thepla + plain Greek yogurt + sliced cucumbers, add a pinch of salt
- Lunchbox: roll it around scrambled eggs, tofu, or leftover rotisserie chicken and lettuce
- Snack plate: thepla with hummus or avocado, it’s not traditional, but it works
- Classic: pickle (achar) and yogurt, simple and satisfying

Storage, freezing, and reheating (so it stays soft)
If you’re learning how to make thepla recipe methi easy for meal prep, storage technique matters almost as much as the recipe.
Short-term (1–2 days)
- Cool fully, then store in an airtight container in the fridge.
- Reheat on a skillet 20–40 seconds per side with a tiny brush of oil.
Freezing (up to a few weeks in many home freezers)
- Place parchment between thepla, seal in a freezer bag, press out air.
- Thaw in the fridge or on the counter, then reheat on a pan for best texture.
A microwave works in a pinch, but it can turn them chewy. If that’s your only option, wrap in a slightly damp paper towel and heat in short bursts.
Common mistakes and how to fix them fast
- Thepla tastes bitter: use younger methi, avoid over-squeezing, add a pinch of sugar or more yogurt next time.
- It turns hard after cooling: dough likely too dry or too much dusting flour, add a little more oil in dough and cook at slightly higher heat.
- It breaks while rolling: rest dough longer, or add a teaspoon of water and knead briefly.
- It’s gummy inside: pan may be too hot or thepla too thick, roll slightly thinner and lower heat a touch.
According to the FDA, keeping cooked foods out at room temperature for extended periods can increase food safety risk, so if you’re packing for later, cool and refrigerate promptly, and when in doubt, ask a food safety professional.
Conclusion: your simplest path to consistent methi thepla
If you want how to make thepla recipe methi easy to feel genuinely easy, focus on a soft dough, a short rest, and medium to medium-high heat, everything else is preference. Make one batch, write down what you changed, and you’ll get to a reliable routine faster than you think.
Try it once with frozen methi if fresh fenugreek feels intimidating, then decide which version fits your schedule, and next time, double the batch so you can freeze a stack for the week.